Nov 7, 2024
The Ultimate Closet Organization Checklist
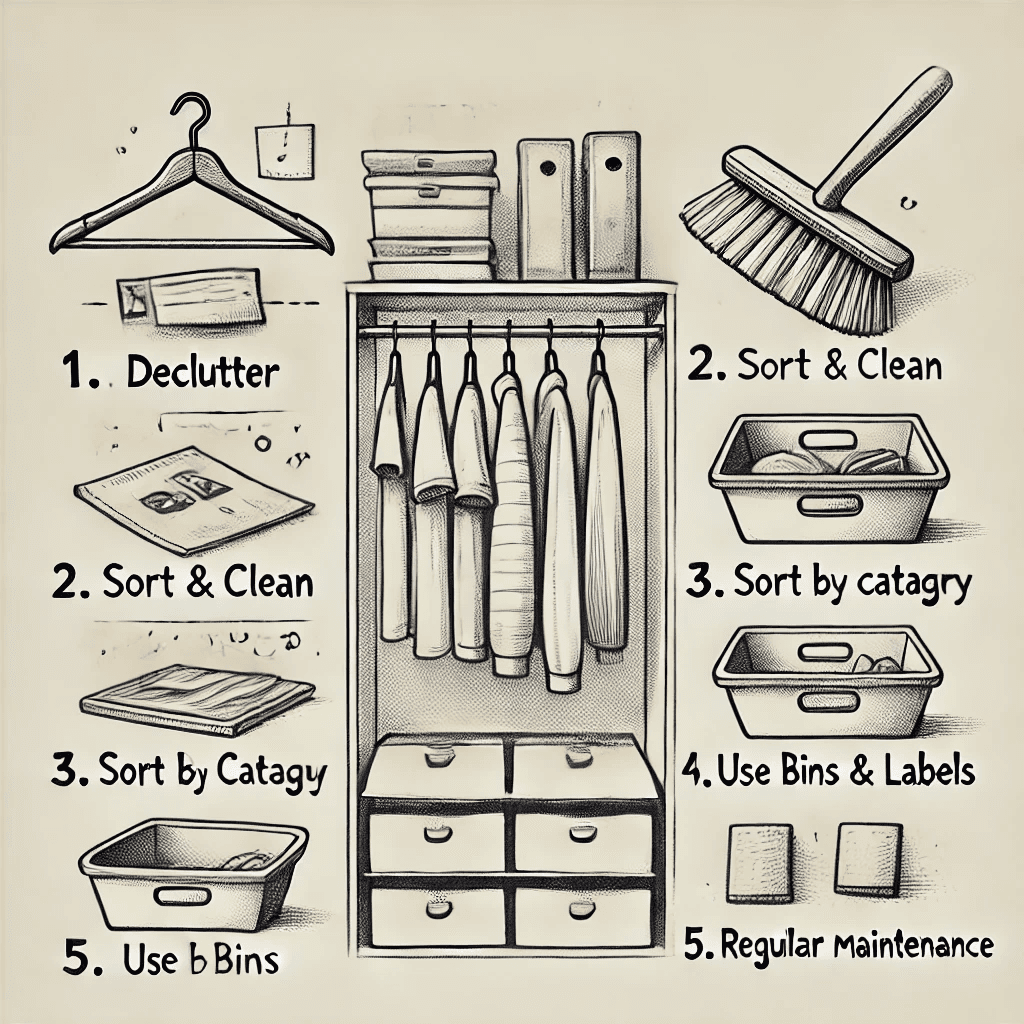
An organized closet not only saves time but also reduces stress. This ultimate checklist will walk you through the steps to transform any closet—from initial decluttering to final touches—into a functional, clutter-free space. Whether you’re tackling a bedroom closet, a linen closet, or a hall closet, these steps will help you achieve a tidy and organized closet that’s easy to maintain.
Step 1: Declutter Your Closet
1. Take Everything Out
Remove all items from the closet. This gives you a clear view of what you own and reveals any unused or forgotten items.
2. Sort Into Categories
Make piles for clothing, shoes, accessories, and any other items. Sorting by category makes it easier to evaluate what you actually use and need.
3. Purge Each Category
Go through each category and decide what to keep, donate, or discard. Ask yourself if the item is useful, if it still fits, or if it aligns with your current style.
4. Clean the Closet
Wipe down shelves, vacuum or sweep the floor, and dust off hanging rods. This step creates a fresh foundation for organizing.
Step 2: Organize with Purpose
5. Assign a Space for Each Category
Designate specific zones for each category (e.g., shirts, pants, shoes). Having set spaces prevents clutter from building up and keeps everything easy to find.
6. Choose the Right Hangers
Uniform hangers make a huge difference in closet organization. Consider using slim velvet hangers to save space or wooden hangers for a more structured look. Avoid wire hangers, which can damage clothes.
7. Use Shelf Dividers and Bins
Shelf dividers prevent piles of clothing from toppling over, while bins or baskets help organize smaller items like scarves or accessories.
8. Store Seasonal Items Separately
If space allows, store out-of-season clothing in bins on high shelves or under the bed. Rotating clothes seasonally frees up space and makes your closet feel less cluttered.
9. Add a Shoe Rack or Organizer
Use a shoe rack or stackable shelves to keep shoes neat and accessible. Alternatively, over-the-door organizers work well for lightweight shoes or flip-flops.
Step 3: Make the Most of Vertical Space
10. Install Extra Shelves
If you have unused wall space above your main shelf, add another shelf for extra storage. It’s a great place for items you don’t need to access frequently, like hats or keepsakes.
11. Add Hooks or Racks on the Walls
Hooks are perfect for bags, hats, belts, or jewelry. Installing them on empty wall space or the inside of the closet door maximizes storage and keeps accessories visible.
12. Use Over-the-Door Organizers
Take advantage of the door with over-the-door organizers. These are useful for holding shoes, accessories, or small clothing items without taking up valuable shelf or hanging space.
Step 4: Maximize Drawer Space
13. Use Drawer Dividers
Dividers keep drawers organized and prevent items from becoming jumbled. They’re especially helpful for smaller items like socks, underwear, and accessories.
14. Roll or Fold Items
Fold or roll clothing like t-shirts, pajamas, and activewear to save space and make items easier to see. Rolling can be especially effective in drawers with limited height.
15. Label Bins and Drawers
Labels make it easy to identify where items go, keeping things organized in the long term. Clear bins are ideal if you prefer to see what’s inside at a glance.
Step 5: Focus on Easy Access
16. Prioritize Daily Items
Place items you use regularly at eye level or within easy reach. Special-occasion items, like formal wear or seasonal items, can be stored higher or lower.
17. Use Clear Bins or Boxes for Smaller Items
Small items like accessories or jewelry can quickly create clutter. Clear bins make it easy to see what’s inside, and smaller boxes or trays can be stacked on shelves.
18. Create a “Return Zone” for Daily Items
Designate a small area (like a shelf or drawer) as a spot for items you frequently grab, like a gym bag, favorite sweater, or accessories. This keeps them easily accessible and helps you return them to their place.
Step 6: Add Finishing Touches
19. Install Lighting
Proper lighting is essential for an organized closet. Battery-operated LED lights or motion-activated light strips are easy to install and ensure you can see everything clearly.
20. Add a Mirror
If space allows, adding a mirror inside the closet door or on a wall is helpful for outfit checks and can make the space feel bigger and brighter.
21. Consider Scent Sachets or Fresheners
Keep your closet smelling fresh with sachets or small, natural air fresheners. Lavender, cedar, or eucalyptus are great choices for a subtle, pleasant scent.
Step 7: Maintenance Checklist
22. Regularly Rotate Seasonal Items
Every season, switch out clothing to make space for current items and store out-of-season clothes elsewhere.
23. Monthly Tidy-Up
Dedicate a few minutes each month to a quick tidy-up. Return items to their proper places, straighten up shelves, and take out any items you no longer need.
24. Keep a Donation Bin in Your Closet
Have a small donation bin in the closet. Every time you find an item you no longer need, place it in the bin. Once it’s full, donate it to keep clutter at bay.
25. Reassess Annually
At least once a year, go through your closet and repeat the decluttering and organization process. This helps you stay on top of items you no longer use and refreshes the space.
Final Thoughts
Organizing a closet can be transformative, creating a space that’s not only visually appealing but also efficient and functional. By following this ultimate closet organization checklist, you can take any closet from chaotic to organized, with dedicated spaces for everything you need. And remember, a well-organized closet is an ongoing project—keeping it clutter-free requires regular maintenance, but it’s well worth the effort!

